
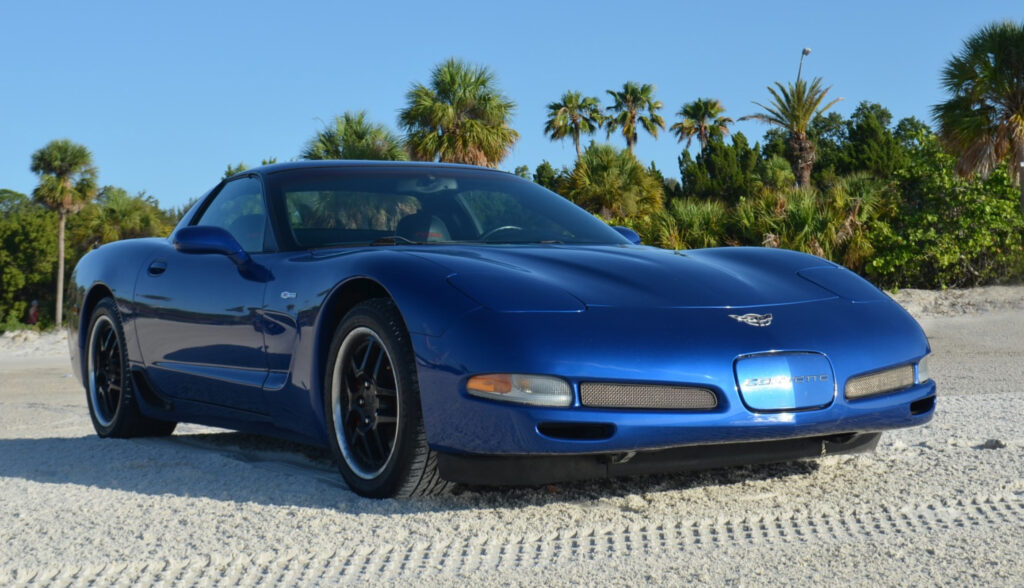
The Car
When I drove the car home to Clearwater from Bonita Springs, FL, two issues were readily apparent.
- The wheels and tires were horribly out of balance
- The sound in the cabin was giving me a headache.
Taking the car in to the alignment shop got the wheels and tires balanced. No big deal – but I learned that the wheels were 2.5 ounces of weight out of balance. That doesn’t sound bad, until you figure that most times 0.5-1.5 ounces of weight is used.
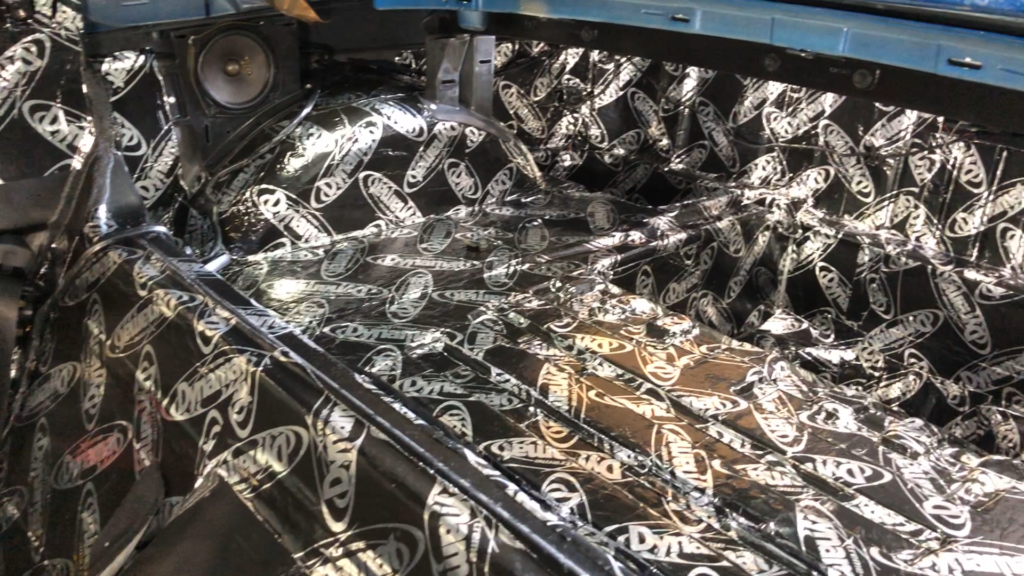
Installing Dynamat Sound Deadener
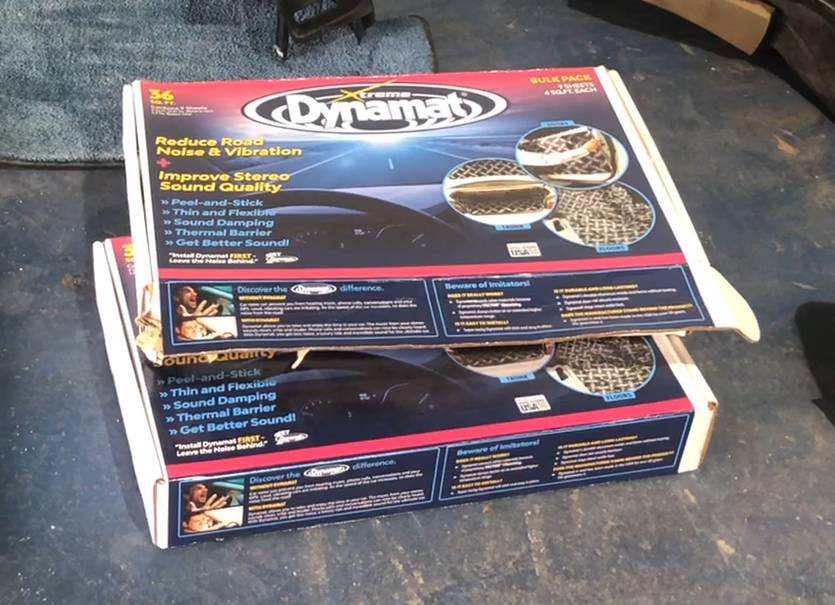
Installing sound deadener was a bigger ordeal. First was figuring out what solution to go with. There are a bunch of products available to improve the excessive noise in the cockpit of the Corvette, and particularly the Z06 – which has very little sound insulation in the interest of saving weight to improve performance.
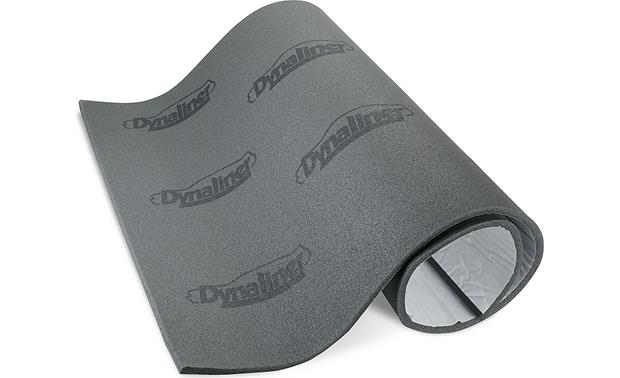
Fortunately I have a friend who is a Noise-Vibration-Harshness engineer in Detroit. I asked him for his advice, sent the links to the various products I unearthed and his advice was clear: install the Dynamat with the Dynaliner on top.
Next it was a matter of figuring out how much to buy. A chat with a rep at Dynamat suggested 3 boxes of Dynamat, Nine 18×32 sheets in each, plus several boxes of Dynaliner, 1 roll in each. Total price? Approaching $1,000. A better solution was in order.
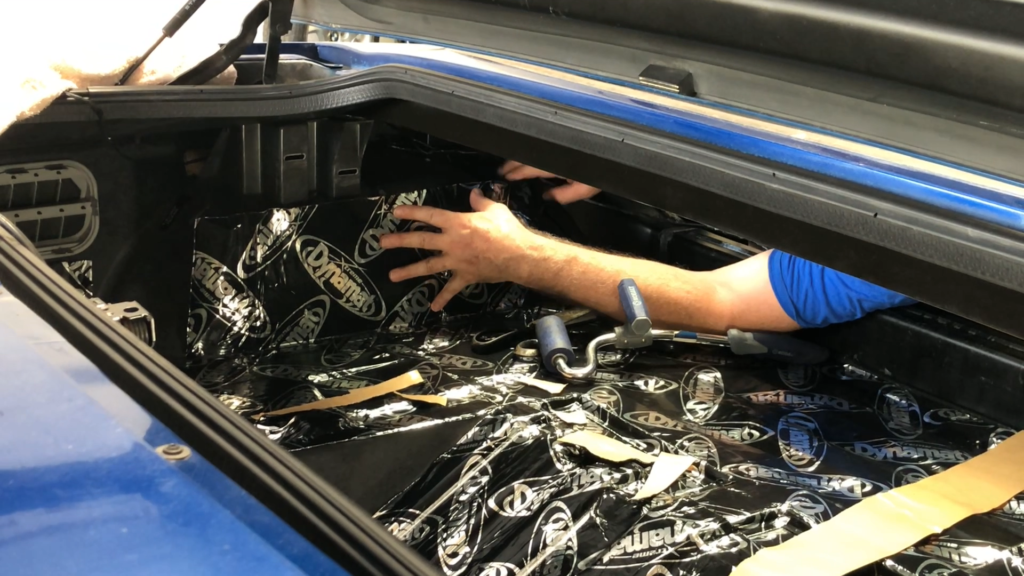
I measured the trunk area, really, the entire area behind the seats. Did I need to cover the doors? Beneficial, but not required. The noise I was hearing was coming from the rea. Did I need to cover underneath the seats? Possibly. Did they have a kit for the C5 Corvette? No, I had to buy the rectangular sheets and cut it myself.
Is there a cheaper solution than full retail? Fortunately, yes. A google search settled on Summit Racing, with prices about half of retail. I ordered two boxes of Dynamat and two boxes of Dynaliner. It dented but did not break the bank, coming in well under $500.
With a bare trunk area, all plastic (er, fiberglass), it was obvious why the interior noise was so loud. Those panels were reverberating like a snare drum! With my industrial strength scissors I cut and trimmed the Dynamat. Using my hands, the blunt end of a utility knife and rolling tool, I installed the Dynamat, covering nearly every inch of the rear tub. I’ve got some great videos that detail the installation process.
Next it was installing the Dynaliner. That was a piece of cake and went quickly. Finally, installing the carpet and interior trim.

The carpet behind the seats flops into place. Getting the big carpet through the trunk lid was a mite challenging, and then tugging and pulling to get it into place, followed by the back panel.
The rest of the trim went in easily. It all attaches with clips and plastic push pins.
Bolt down the console storage compartment, reconnect those wires, and the interior is back together.
One might think that my work was done.
Oh no! While moving the car around while doing the sound deadener installation, I discovered two other problems: the clutch pedal was going to the floor and not coming back up, and the a/c was blowing out of all of the vents, with very little blowing on me.
I live in Florida. We need AC. Especially this Michigan-born-and-raised-Swedish boy in the summer of 2022 with record highs turning me into a quivering mass of perspiring jelly while working on the car. And driving across the deserts out west in the middle of August is going to require a good AC system.
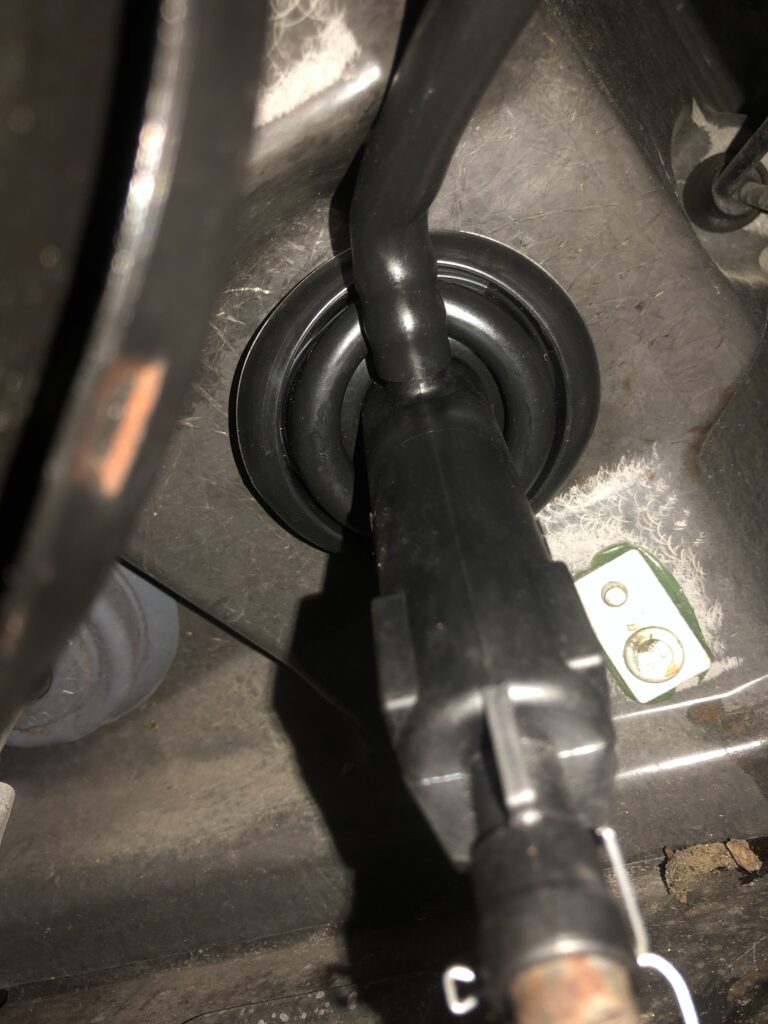
The first major job: finding out what was wrong with the clutch. First I had to bleed the brakes. On most cars with a manual transmission, this is easy. Not so on the C5 Corvette. In a hydraulic clutch system, the clutch pedal presses a plunger to the clutch master cylinder, which pushes brake fluid through a line to the clutch slave cylinder, which pushes a rod to disengage the clutch.
To bleed the clutch on the C5 Corvette (run the brake fluid through the system, getting all the air out), you have to remove the center section of the exhaust, removed a tunnel cover tray with about 9 million bolts, reach with a 7/16 wrench above the tube that houses the drive shaft, crack the wrench open and let the brake fluid drain out. Every other system in the world has a little fitting on the end of the bleed screw to fit a hose so the brake fluid can drain into a container. Not the C5 Vette! Brake fluid drains down the clutch housing (called a bellhousing) and onto the floor. Where I stuck a drain pan but with the fan blowing to keep me cool, brake fluid was making a nice pattern in and around the pan.
Enter oil-dry, the kitty litter-type absorbent, spread over the floor.
Bleeding the clutch worked great.

Until I test drove the car after the sound deadener was installed. The sound deadener worked great. But the clutch was toast. I had to pump it every time I needed to use it and sometimes it was on the floor. Not good.
Back on the hoist. Remove the exhaust. Remove the tunnel cover. Remove the bottom of the clutch housing. Clutch looks great. OK, let’s start troubleshooting at the beginning.
That meant removing the center console, left lower dash, and left lower cover. Is the clutch return spring broken? Nope – but there’s brake fluid from the clutch master cylinder dripping down inside the firewall.

And so the ordeal of changing the clutch master cylinder begins. Made tougher by the fact that it’s under the brake booster and a completely blind installation. You can barely see the tip of it under the black brake booster in the pic. The next pic is the new master cylinder installed, courtesy of placing the iPhone in just the right spot under the brake booster and taking the shot. A few days of work, the clutch master cylinder is replaced, the system is bled, the tunnel cover is replaced as well as the exhaust, and the clutch works!
Joyous day!

The A/C System
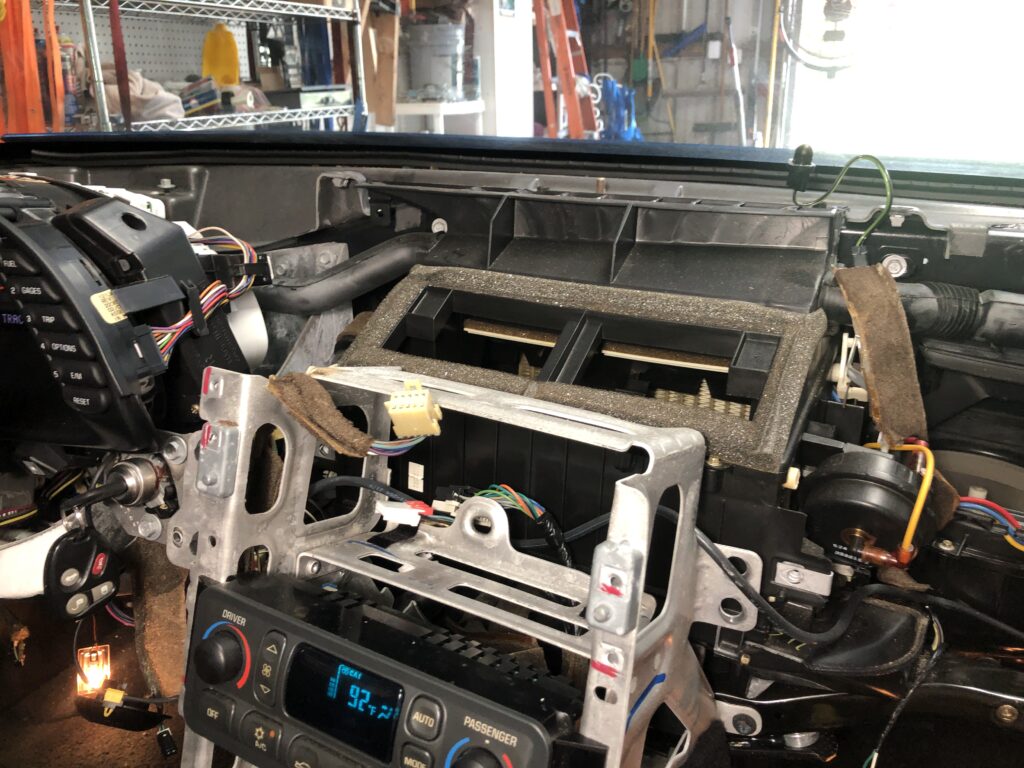
With the dash half apart, why don’t I find out why the AC is blowing out of all the vents and fix it? Now that was a problem I didn’t notice when I test-drove the car.
Several hours of reading the repair manual to learn how the system works, what to look for and where to look for it, I tear apart the rest of the dash.
This is not a job for the faint of heart.
It’s amazing how Chevrolet got all those components into a car that is about half the height of a regular car. What’s not amazing is that everything is behind something else and a lot of dissasembly is required to get to the problem part.
Electrical tests are good. The culprit? No vacuum to the vacuum distribution block for the AC, which is what is used to open and close the flaps and doors in the HVAC module inside the dash that directs the air to the right vents.
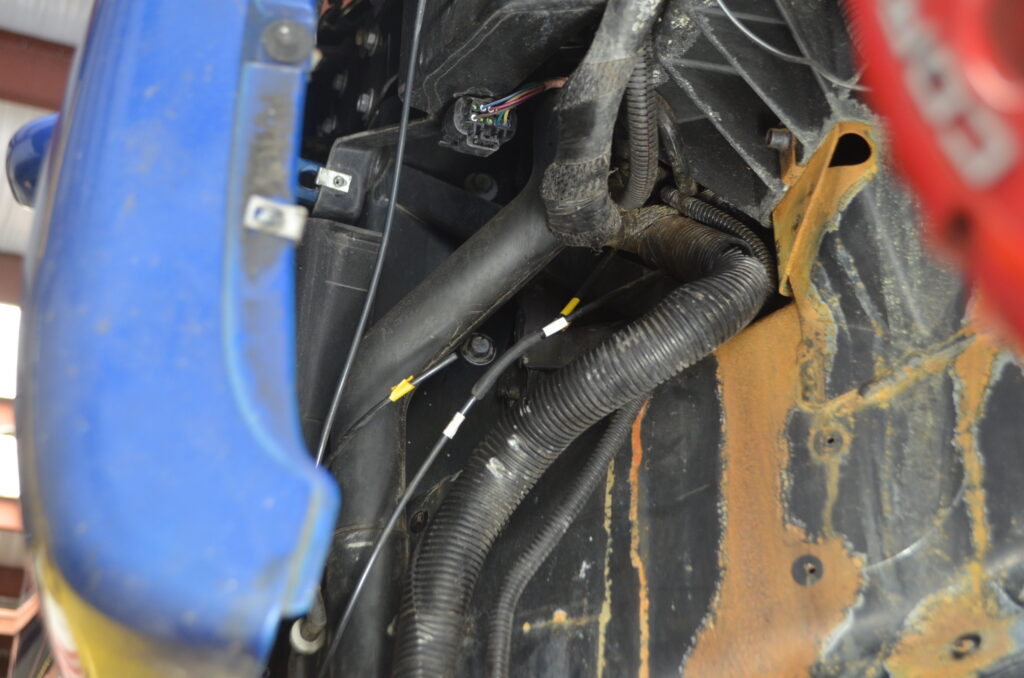
Do you think they might have a vacuum diagram in the workshop manual? You’d think that, but you’d be wrong. There’s a nice diagram that shows the vacuum actuators for the AC system, but no diagram that shows where the vacuum lines are in the car. Lots of google searching and reading the manual, and the only thing I found was a vacuum tank behind the right front fender, behind the tire, and a reference to a vacuum line coming off the rear of the intake manifold.
The vacuum line on the engine looked good. I surmised that the vacuum line at the distribution block had to go to the tank behind the fender, so working my way backwards from the AC system, I tear into the fender and remove all kinds of parts to find breaks in several places in two vacuum hoses. Easy fix to splice in rubber tubing and test it.
The AC works! Oh joyous day!
Now it’s time to put everything back together. But it’s scorching hot in Florida, I’m wiped out. Head home for a well-earned shower and a beer and tackle the reassembly another day.
The Heads-Up Display (HUD)
Before I put the dash back together, why don’t I fix the HUD – Heads-Up Display, a fancy device that displays info on the windshield?
Three nuts and the HUD is out of the car. Four screws and the cover is off and yup, the exact problem I learned about watching several YouTube videos is there.
Easiest fix to date and I have a HUD! I can see the RPM and MPH on the windshield! Isn’t that special?!?!
Next it’s put the entire dash back together. Man, there are a lot of screws holding everything together. When working on cars, it’s not uncommon for there to be one or two nuts or bolts left over. I consider it a mark of pride to get all the nuts and bolts where they belong with none left over. In this case I ended up four screws short. They must have gone to the same place that socks go when doing the laundry.
Get four more screws from my stash and the dash is back together. I have a car. The AC works! The HUD works! The clutch works! And I can hear myself think when I drive the car at highway speeds!
Angles sing on high and trumpets sound.
Except the turn signals don’t work. Not a sound, not a blink. Remove the center console and the lower dash, nope, it’s not the harness to the turn signal. Check fuses. Those are good. Wait – the hazards and the turn signals are on the same circuit. Hmmm… I forgot to plug in the hazard switch when I installed the IP trim panel. Now it’s remove the radio, unscrew the instrument cluster, unscrew the IP panel, pull that up and snake the connector and plug it into the switch. They work!!!! All back together a few hours later and the car is pronounced Trip Ready.
Next, figuring out how to use the GoPro and take great video from inside and outside the car.


Lorem ipsum dolor sit amet, consectetur adipiscing elit. Ut elit tellus, luctus nec ullamcorper mattis, pulvinar dapibus leo.